I'd seen a lot of cool DIY play kitchens on Pinterest and decided that I needed to make my own! I love the idea of repurposing old furniture, and I love projects. My grandmother had this old entertainment center that she wasn't using, so I asked if I could have it and transform it into a play kitchen. She said yes! Thanks Grammy :) This project took a lot longer than I planned, I didn't actually have experience using power tools, and I changed my mind several times along the way, but I think it came out pretty awesome!

First I took all of the doors off and sanded it down.

Then I primed it with some left over ceiling paint/primer that I found in the basement.

Then I decided to take out the narrow vertical cupboard wall.

Then I bought a piece of fiber board. I had my husband cut it to sit the back and nail it on. Then I painted that with primer too. Then my mother-in-law pointed out that the top of the sink and oven would be too high for the kids to play on so...I took a sawzall and cut a few inches off of the middle wall. Then I pounded the top shelf area with a hammer until it the nails came out. Then I pulled it out and flipped it over. The other side was much smoother and only had one groove in it. Then I hammered it down and primed it. Everyone told me not to do this and that it was completely crazy and might ruin the whole kitchen, but I was determined to build it to the right height for the kids to play with!

I primed the cabinets and shelf and had my husband cut a piece of MDF from Home Depot to fit as the oven door. Then I primed one side and painted the other side of it with some magnetic paint that we had lying around in the basement.

I found a large double wire rack at K-Mart and spray painted it black for the oven. I also found a handle a Marden's and spray painted that black for the oven door.

I found this awesome metal mixing bowl at K-Mart and looked all around for a cheap faucet, and ended up buying a bathroom faucet at Home Depot. I really wanted the sink to look good!

Then I waited for my husband to cut a hole for the sink bowl & faucet...and waited...and waited...and finally he cut it!

I got some cheap black spray paint and painted the inside of the oven.


I used paper and masking tape to stencil squares for the burners and sprayed them black.

Then I had Derek cut the sliding doors to use as a backsplash. I nailed the side pieces on, but the back pieces had to be superglued because the back panel is so thin.


I found a nice piece at a thrift store to hang the spoons and spatulas on. I painted that white and attached it to the kitchen wall. Then I decided to paint the wood backsplash white. It was starting to look a little too white...

So, I decided to paint the walls a tan color that we had leftover in the basement. I enlisted the help of my friend Jon to drill holes for the faucet and attach the shelf with brackets. I also attached the oven door hinges, handle, magnetic catch and knobs that I had sprayed black. I had my husband cut wood dowels, and I sprayed them black then glued them onto the burner squares to make the burners look more realistic. Then I had Jon use some of the wood dowels to make a towel bar and I attached that to the wall with screws.

Way better with the tan, right?!

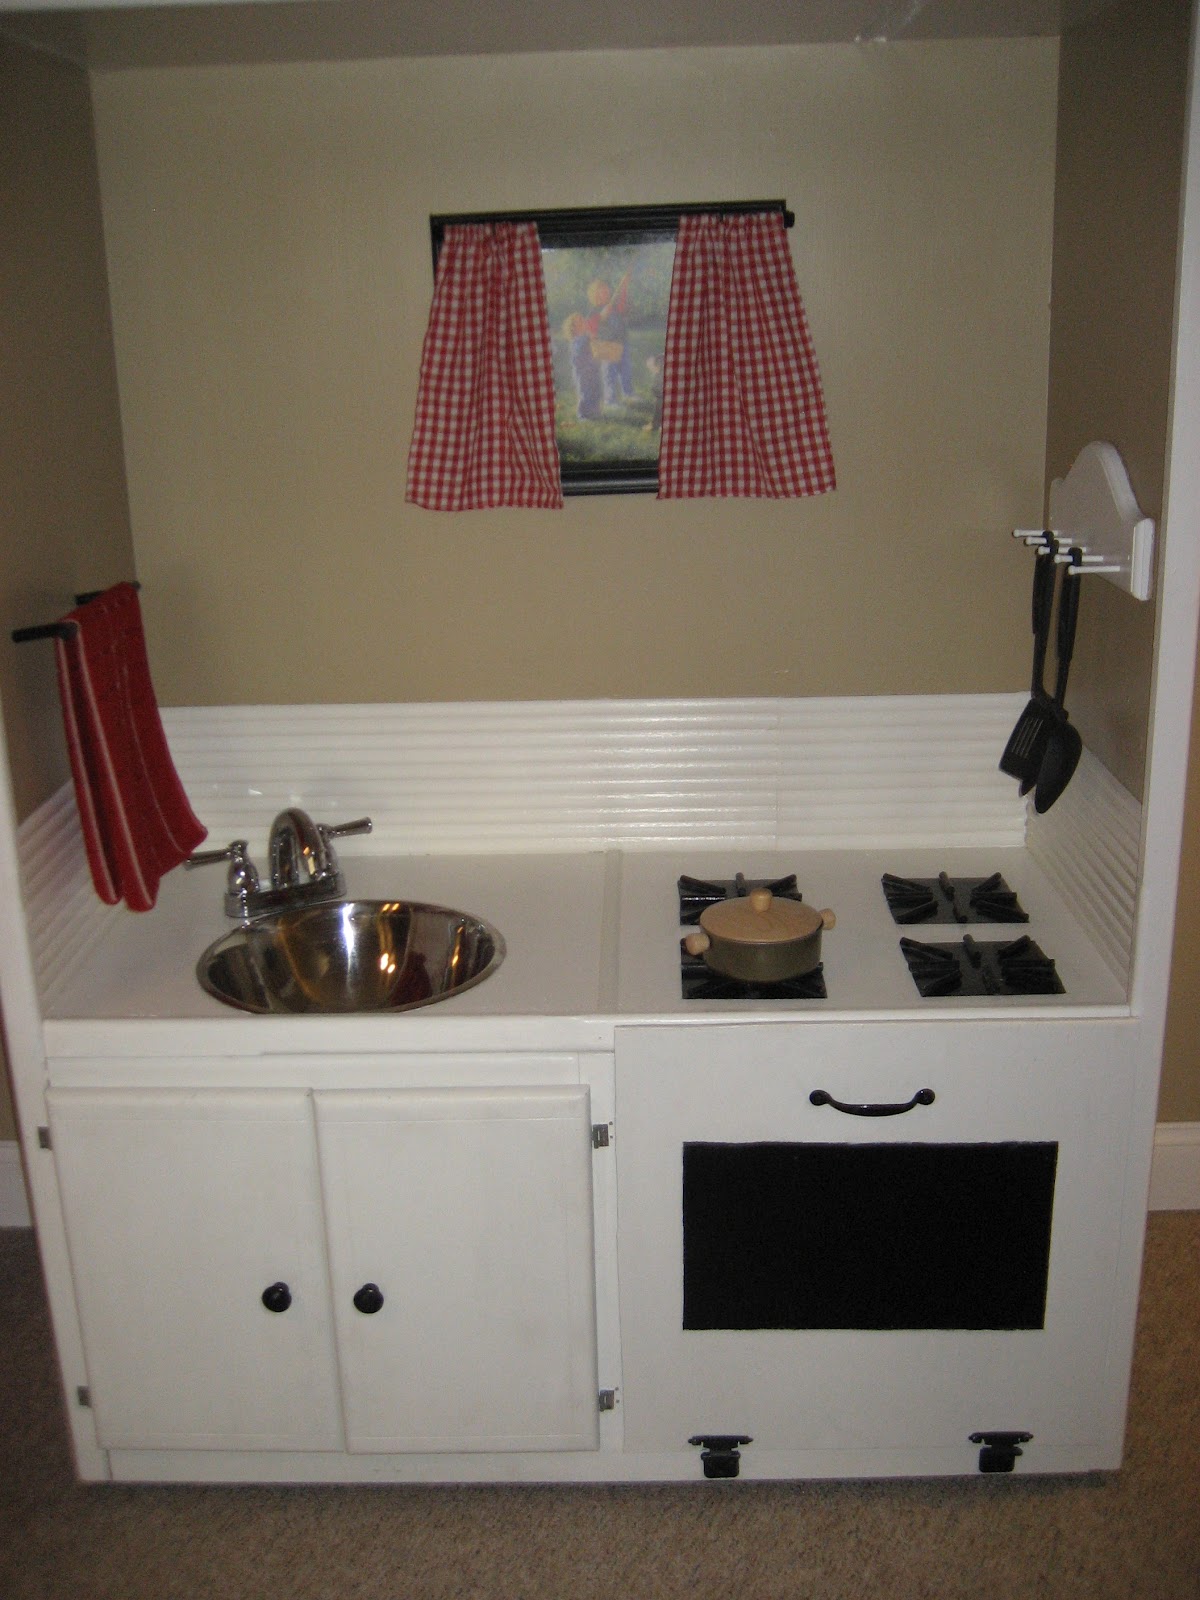
Then I attached the cabinet doors and made a window using a picture frame, picture from an old calendar, wood dowel painted black, screw in hooks and curtains I sewed out of some cheap red checked fabric.


Dom enjoying his new kitchen! It is a little big for him, but he will grow into it!


Before and After

No comments:
Post a Comment